Part 1: Quick-start
By the end of this part you will have moderation installed and will have moved a page from draft to published through an approval workflow. To keep things simple you play every part yourself — author and reviewer. Part two then introduces a real, separate reviewer. This part takes about ten minutes.
Create the project
django CMS Moderation targets django CMS 5.1 and later. The djangocms
command that ships with django CMS can scaffold a project with moderation
already wired up. In a fresh virtual environment, run:
pip install "django-cms>=5.1"
djangocms testproj --moderation
The command creates a testproj directory, installs
djangocms-versioning and djangocms-moderation (moderation builds on
versioning — every moderated object is a draft version), runs the database
migrations and asks you for superuser credentials.
Note
Adding moderation to an existing django CMS project instead? Follow How to install moderation in an existing project first, then rejoin the tutorial here.
Email notifications are part of the moderation process. So that you can see
them during development without a mail server, add a console email backend at
the end of testproj/settings.py:
EMAIL_BACKEND = "django.core.mail.backends.console.EmailBackend"
Then start the development server:
cd testproj
python -m manage runserver
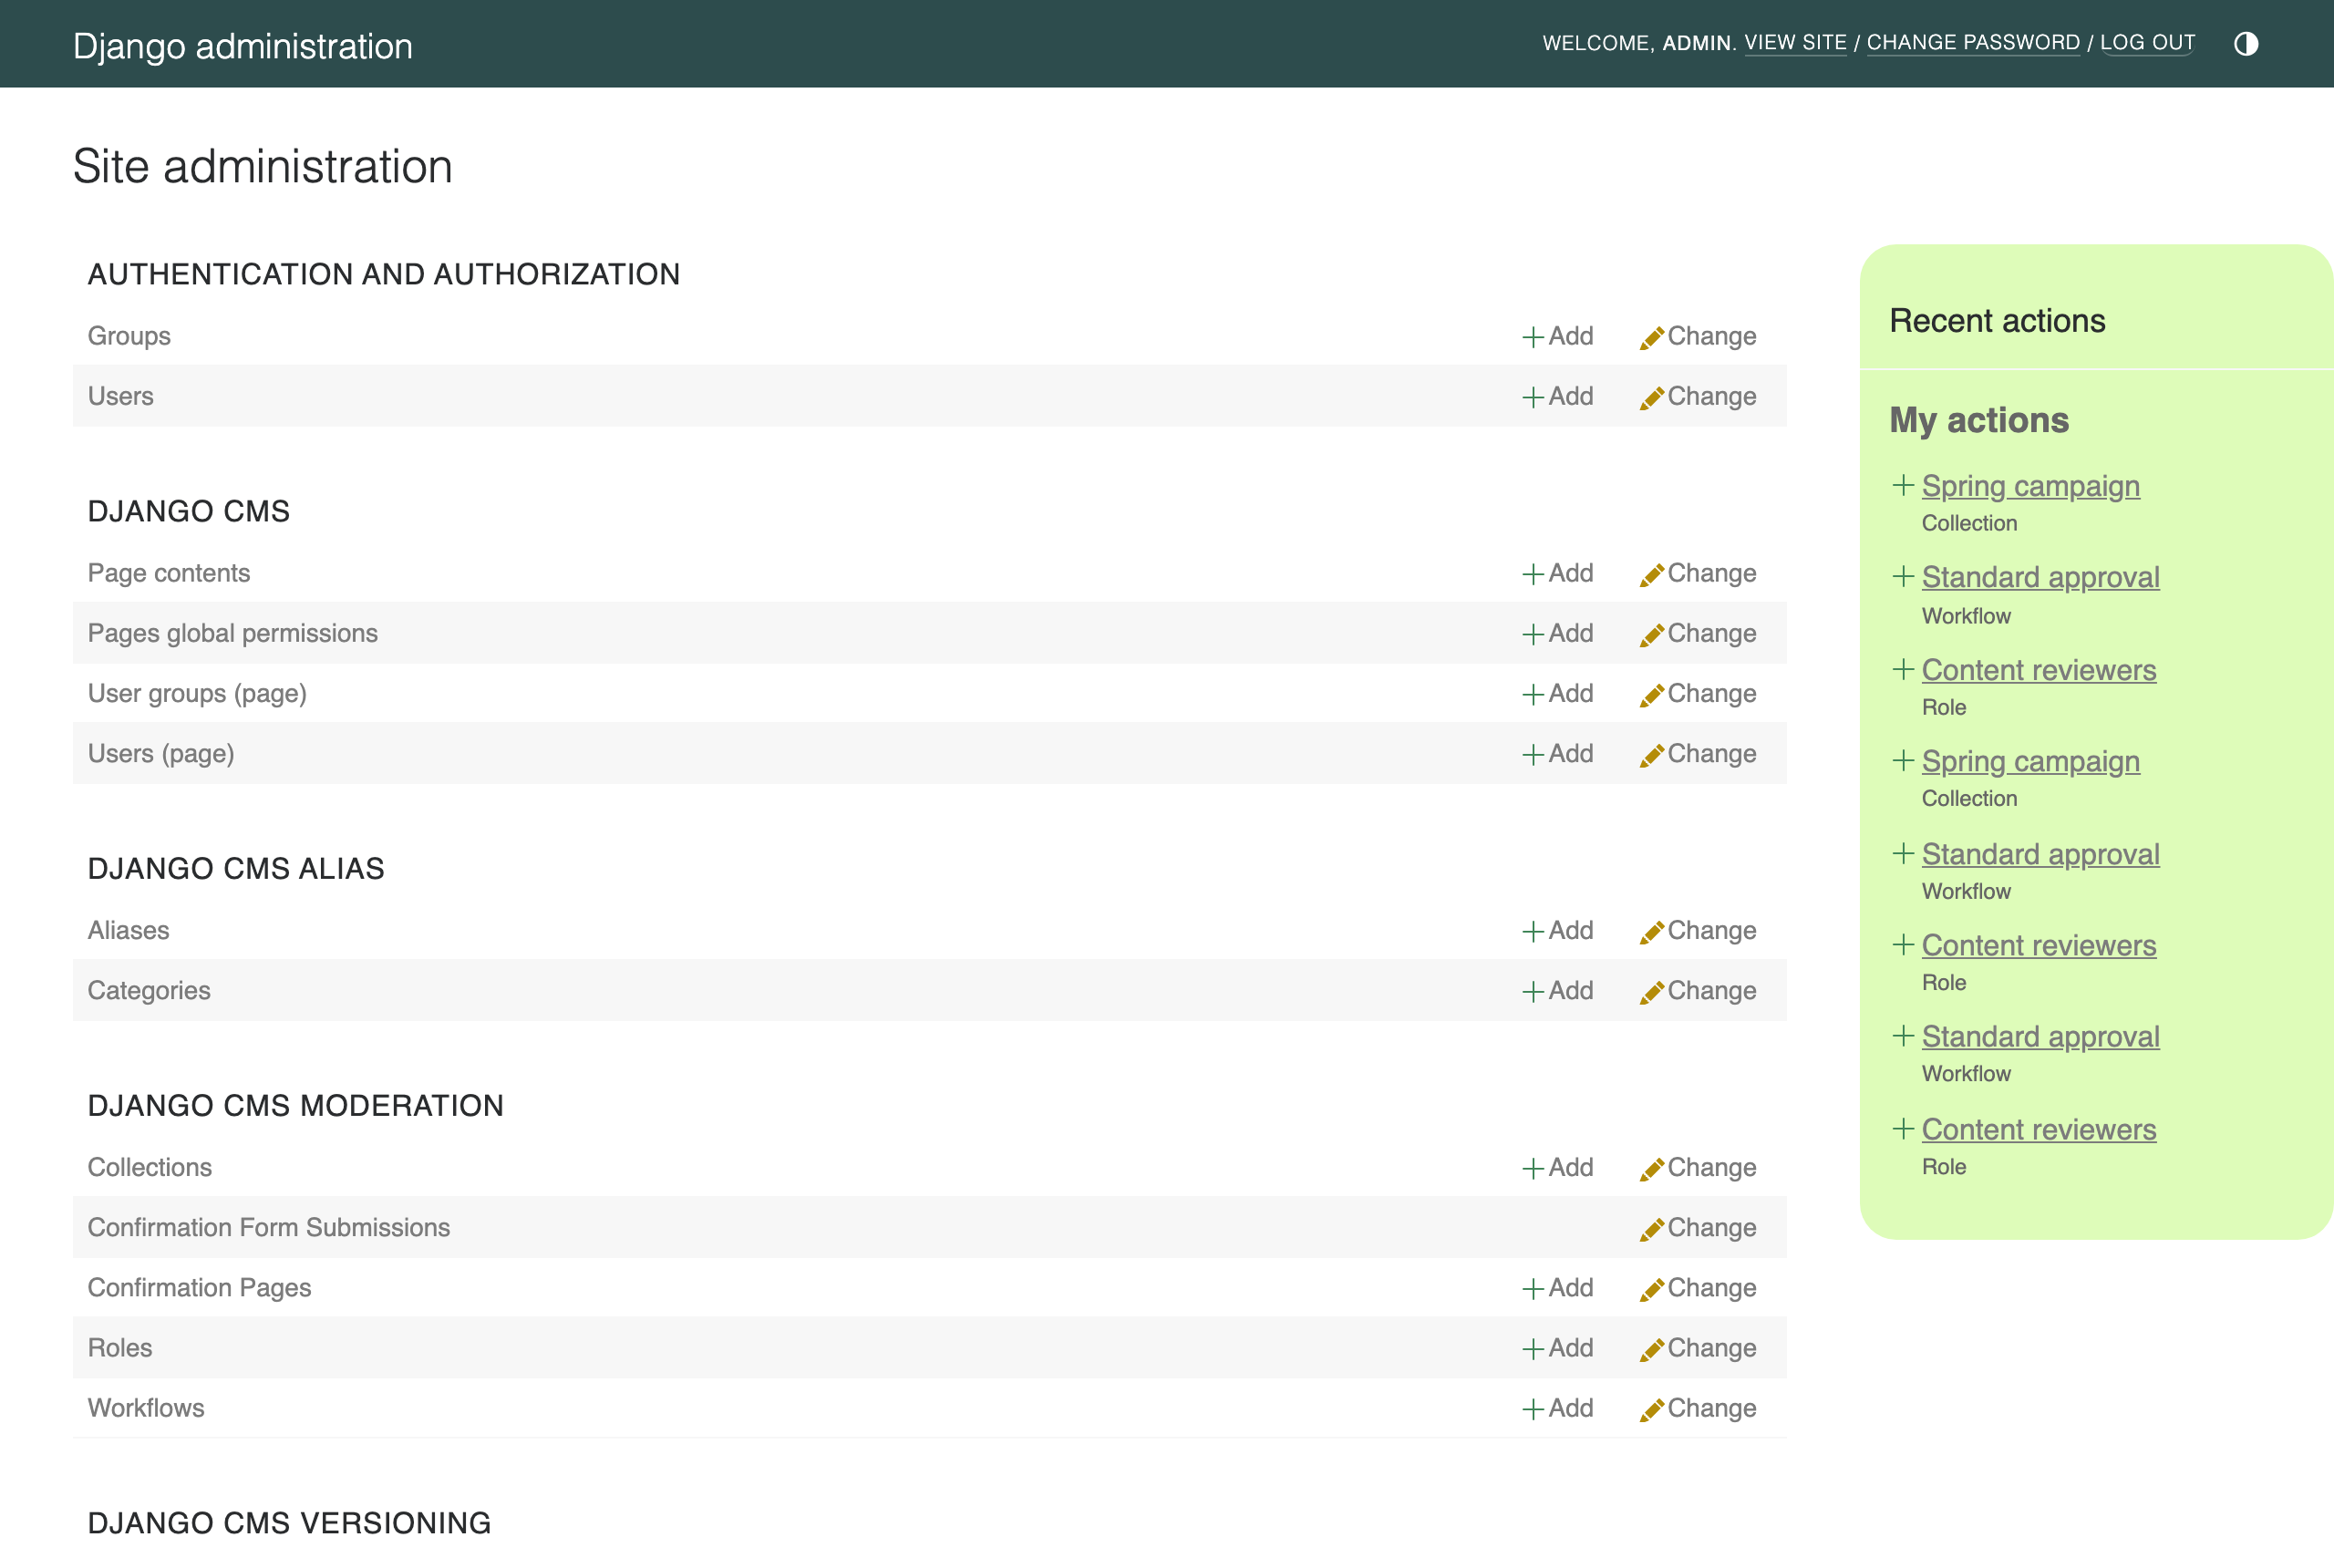
Open http://localhost:8000/admin/ and log in with your superuser. The admin index now contains a django CMS Moderation section — this is where collections, roles and workflows are managed:
Define a one-step workflow
A Workflow is the sequence of approval steps content must pass before it can be published. Each step is reviewed by a Role — a user or a group. For this quick-start you are the only reviewer, so the role will point at your own user.
Go to django CMS Moderation → Roles → Add Role, name it
Me, select your own user under User and save.Go to django CMS Moderation → Workflows → Add Workflow:
Name it
Quick approval.Tick Is default — new collections use this workflow unless another is chosen.
In the Steps section, select the
Merole for the first step.
Save the workflow.
Collect a draft and submit it
Content is never moderated one piece at a time; drafts are grouped into a Moderation Collection — a batch reviewed and published together.
Go to django CMS Moderation → Collections → Add collection, name it
Spring campaign, pick theQuick approvalworkflow and save. You are recorded as the collection’s author.From the CMS toolbar Create button, create a page called
Spring campaignwith some content. Because the page is a draft version and pages are registered for moderation, its toolbar shows a Submit for moderation button:
Click it, choose the
Spring campaigncollection in the dialog and submit. The toolbar button now reads In collection “Spring campaign”.
Approve and publish
Go to django CMS Moderation → Collections and click the requests icon in the actions column to open the collection’s content. The page is listed as a Moderation Request. Click Submit collection for review and confirm. The collection’s status changes to In review and a notification email appears in your runserver console.
The request is now Pending Me approval. Because your
Merole makes you the reviewer, you can approve it yourself: tick the request, choose Approve in the action dropdown, click Run and confirm. Its status becomes Ready for publishing.Finally publish: select the request again, choose Publish, click Run and confirm.
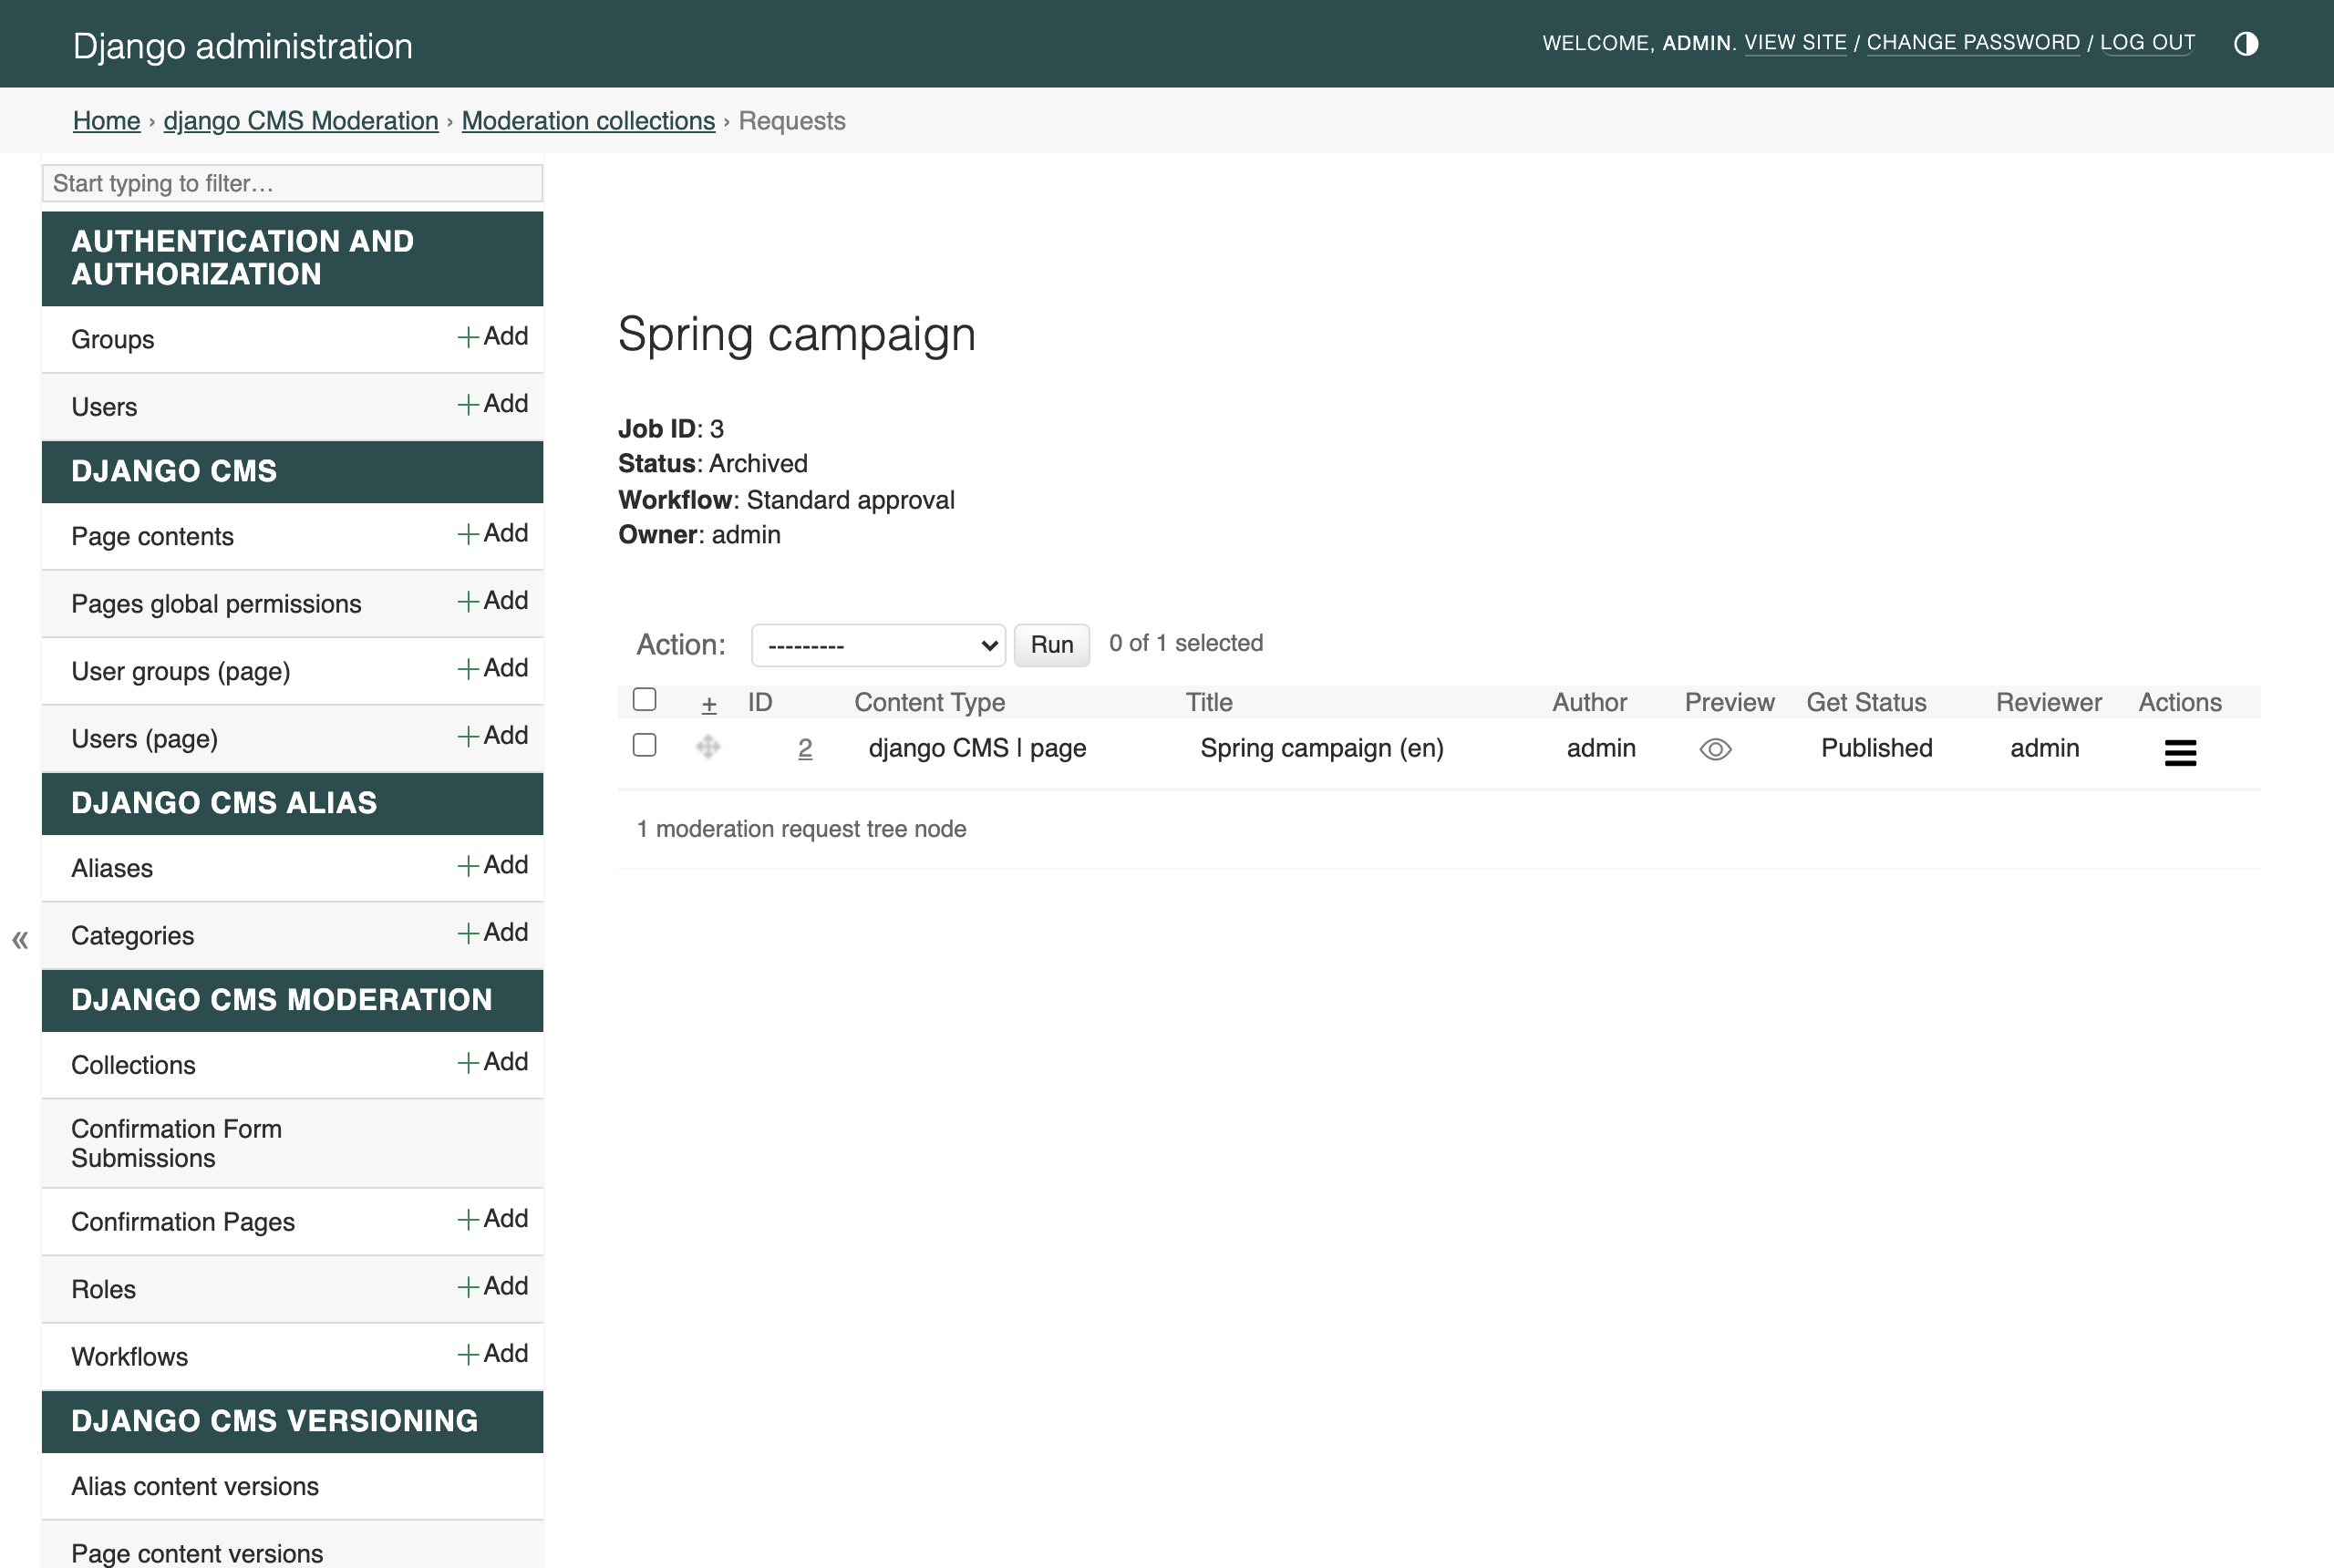
The collection is automatically archived once every request in it has been moderated:
Visit http://localhost:8000/ — your page is live, and it got there through a moderation workflow.
What’s next
You published a page through moderation, but you were author and reviewer at once. Moderation’s real value is separating the people who write content from the people who approve it. In part two you will add a genuine reviewer and walk a collection through a proper review.